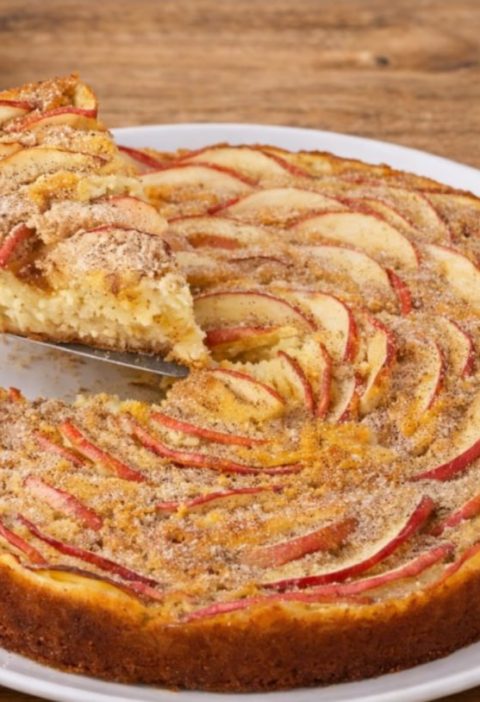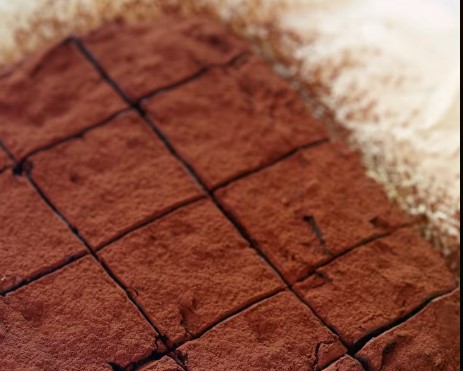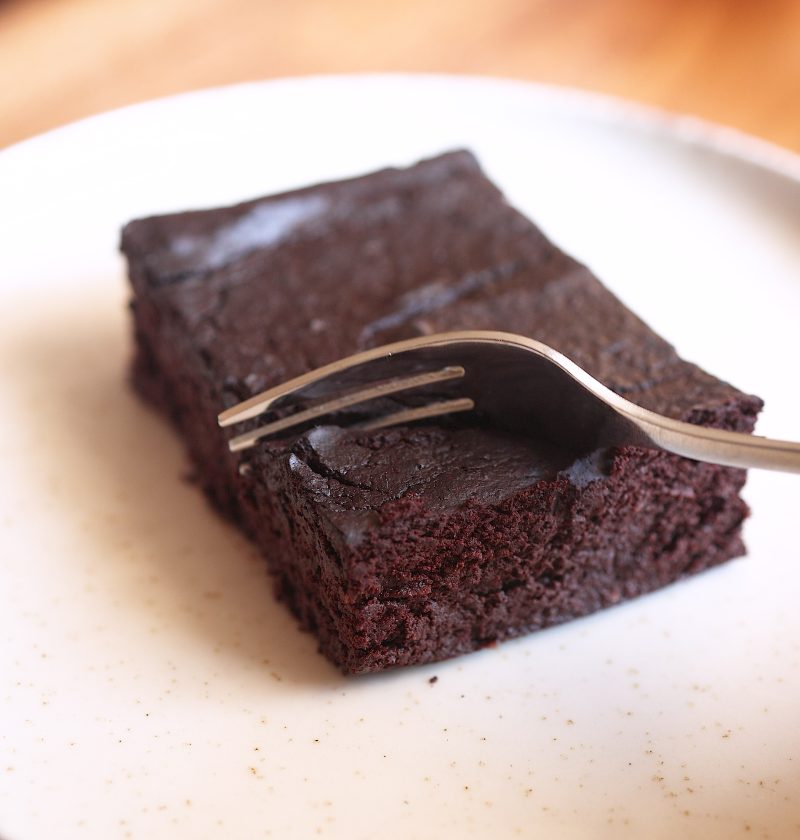
This simple apple chocolate bake is made with apples, eggs, and unsweetened cocoa powder. It contains no added sugar, banana, flour, gluten-containing grains, or milk. Vanilla extract is optional but highly recommended because it softens the bitterness of the cocoa and makes the apples taste sweeter.
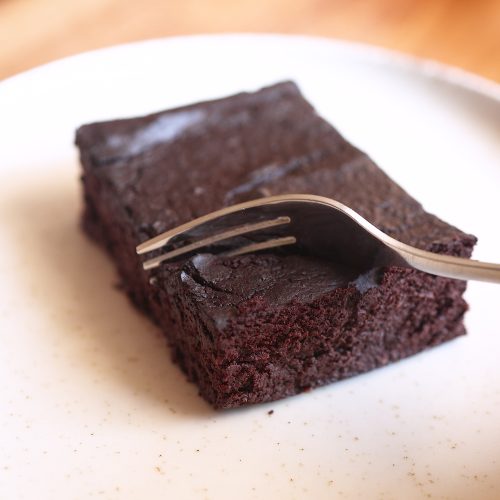
The recipe takes approximately five minutes to prepare, followed by about 30 minutes in the oven. Its texture is moist, dense, and fudgy rather than light and airy like a traditional flour-based cake.
An Important Note About the Cocoa
The original recipe uses 100 g cocoa powder. This produces a very dark, intense, and noticeably bitter chocolate bake. For a milder flavour, use 60–70 g cocoa powder instead.
If using the full 100 g, choose large, naturally sweet apples and do not overbake the mixture. The detailed recipe below retains the original 100 g quantity.
Recipe Overview
- Active preparation time: 5–10 minutes
- Baking time: approximately 30 minutes
- Cooling time: 15–20 minutes
- Total time: approximately 50–60 minutes
- Servings: 8 small portions
- Baking temperature: 180°C conventional or 160°C fan-assisted
- Baking dish: 15 cm round or approximately 15 × 15 cm square
- Difficulty: Easy
Ingredients
Main ingredients
- 2 large sweet apples, approximately 400–450 g whole or 300–350 g after peeling and coring
- 2 medium eggs, approximately 100 g without shells
- 100 g unsweetened cocoa powder
Optional flavouring
- 5 ml vanilla extract, approximately 1 teaspoon
For the baking dish
- A small amount of neutral oil or plant-based butter
Vanilla and the fat used to grease the dish are not counted among the three main ingredients.
Equipment
- Blender or food processor
- Digital kitchen scale
- Vegetable peeler
- Sharp knife
- 15 cm round baking dish or 15 × 15 cm square dish
- Baking paper
- Silicone spatula
- Fine sieve
- Wire cooling rack, if available
Detailed Step-by-Step Instructions
Step 1: Preheat the oven
Preheat the oven to 180°C using conventional heat or 160°C using a fan-assisted setting.
Place the oven rack in the middle position. This helps the bake cook evenly without burning the bottom or drying the surface.
Allow the oven to preheat fully before putting the mixture inside. Starting in a cold oven can cause the eggs to cook unevenly and may leave the centre wet.
Step 2: Prepare the baking dish
Lightly grease the base and sides of a 15 cm round baking dish or a 15 × 15 cm square dish with neutral oil or plant-based butter.
Line the base with baking paper. For easy removal, leave some paper extending above two opposite sides of a square dish.
A small dish is essential. If you use a large baking tin, the batter will spread too thinly and may become dry before the centre develops its fudgy texture.
Chef’s trick: Apply a very thin layer of oil before adding the baking paper. The oil acts like glue and keeps the paper from moving while you pour in the batter.
Step 3: Choose the right apples
Use naturally sweet apples such as:
- Gala
- Fuji
- Golden Delicious
- Pink Lady
Because the recipe contains no added sugar, the sweetness and ripeness of the apples make a considerable difference.
Avoid very tart apples such as Granny Smith unless you enjoy an intensely dark, bitter chocolate flavour.
The apples should feel firm and smell fresh. Do not use fruit with fermented, mouldy, or heavily bruised areas.
Step 4: Prepare the apples
Peel the apples. Cut each apple into quarters and remove the core, seeds, and hard stem sections.
Cut the prepared apples into pieces measuring approximately 2–3 cm. Small, evenly sized pieces are easier for the blender to process.
You should have approximately 300–350 g prepared apple.
Do not drain or squeeze the apples. Their natural juice provides the moisture needed to hydrate the large quantity of cocoa powder.
If your apples are small and produce less than 300 g prepared fruit, consider reducing the cocoa powder to 60–70 g. Otherwise, the batter may be excessively thick and bitter.
Step 5: Blend the apples and eggs
Place the apple pieces and eggs in the blender or food processor.
Blend for 30–60 seconds, until the apples have broken down into a smooth, pale purée.
Stop the machine and scrape down the sides with a silicone spatula. Blend again if visible apple pieces remain.
Processing the apples with the eggs before adding the cocoa is much easier than blending everything at once. Cocoa thickens the mixture rapidly and can make it difficult for the blades to move.
Step 6: Add the vanilla
Add 5 ml vanilla extract, if using, and blend briefly.
Vanilla is optional, but it is especially useful in a recipe without sugar. Its aroma gives the impression of greater sweetness and rounds out the bitterness of the cocoa.
For a strictly gluten-free bake, check that the vanilla extract is labelled gluten-free.
Step 7: Sift the cocoa powder
Sift 100 g unsweetened cocoa powder through a fine sieve.
Do not skip this step. Cocoa powder naturally forms dry lumps. These lumps may remain bitter and powdery even after blending.
Use ordinary unsweetened cocoa powder or Dutch-processed cocoa. Dutch-processed cocoa generally tastes smoother and less acidic, making it a good choice for this sugar-free recipe.
Do not use a sweetened drinking-chocolate mixture, as it contains sugar and often milk powder.
Step 8: Add the cocoa gradually
Add approximately one-third of the sifted cocoa to the blender. Blend at low speed until combined.
Repeat with the remaining cocoa in two more additions. Stop and scrape down the sides between additions.
Adding all 100 g at once can create a cloud of cocoa dust and may prevent the blender from mixing the ingredients evenly.
Do not operate the blender continuously for several minutes. The motor can heat the mixture and begin affecting the eggs. Blend only until the batter is smooth.
Step 9: Check the batter
The finished batter should be very thick, glossy, and smooth. It should fall slowly from a spoon rather than pour like a drink.
The consistency will vary because different apple varieties contain different amounts of juice.
If the blender cannot process the mixture at all, the apples were probably too small or not sufficiently juicy. In that case, add 15 ml water and blend again. Add no more than 30–40 ml in total, and only when necessary.
Adding water technically introduces an extra ingredient, but it may be needed when using the full 100 g cocoa powder. Alternatively, use 60–70 g cocoa for a softer and less bitter result.
Taste should not be checked at this stage because the batter contains raw eggs.
Step 10: Transfer the batter
Spoon the batter into the prepared baking dish.
Scrape the blender carefully with a silicone spatula so none of the mixture is wasted. Spread the batter into the corners and smooth the surface with the back of a damp spoon.
Tap the dish gently against the worktop once or twice to remove large air pockets.
Do not press the batter down firmly. A light touch helps preserve the small amount of air incorporated during blending.
Step 11: Bake
Place the dish on the centre rack of the preheated oven. Bake for approximately 30 minutes.
Begin checking after 25 minutes, particularly if you used 60–70 g cocoa or a wider baking dish.
The bake is ready when:
- The surface is dry and set.
- The centre no longer moves like liquid when the dish is gently shaken.
- The edges have begun to pull slightly away from the dish.
- A wooden skewer inserted in the centre comes out with moist crumbs but no liquid batter.
Do not wait for the skewer to become completely dry. This bake contains apples and should retain a moist, fudgy centre.
Overbaking is the most common mistake. It intensifies the bitterness of the cocoa and creates a dry, rubbery texture.
Step 12: Cool the bake
Remove the dish from the oven and let the bake cool in the dish for 15 minutes.
During this time, the eggs finish setting and the cocoa continues absorbing moisture. The bake will become firmer as it cools.
Use the baking paper to lift it out, then transfer it to a wire rack or plate.
For a soft, pudding-like texture, serve it slightly warm. For clean, firm slices, allow it to cool completely and then refrigerate it for 30–60 minutes.
Step 13: Slice and serve
Cut the bake into eight small portions using a sharp knife. Wipe the knife between cuts for neater edges.
Because the recipe contains no added sweetener, taste it before choosing a topping. It can be served with:
- Unsweetened Greek-style or plant-based yoghurt
- Fresh strawberries or raspberries
- Warm stewed apples
- A small spoonful of nut butter
- Chopped toasted hazelnuts
- A light dusting of cocoa powder
Toppings will alter the nutrition values and may introduce sugar, milk, gluten, or nuts.
Chef’s Best Tips
- Use large, sweet apples: The apples provide almost all the sweetness and moisture.
- Weigh the prepared fruit: Aim for 300–350 g after peeling and coring. Two apples can vary enormously in size.
- Adjust the cocoa if necessary: Use 100 g for a very dark, bitter bake or 60–70 g for a milder, softer result.
- Blend the apples and eggs first: This creates enough liquid for the cocoa to mix smoothly.
- Sift the cocoa: Sifting prevents bitter, dry lumps in the finished bake.
- Add the cocoa in stages: Gradual mixing reduces dust and protects the blender motor.
- Choose Dutch-processed cocoa for a milder flavour: Natural cocoa is usually sharper and more acidic.
- Use the correct dish size: A dish that is too wide will produce a thin, dry bake.
- Do not overbake: Moist crumbs on the testing skewer are desirable.
- Cool before slicing: The texture firms considerably as the bake cools.
- Use vanilla even though it is optional: Vanilla enhances the perception of sweetness without adding sugar.
- Do not taste raw batter: It contains uncooked eggs.
- Expect a fudgy texture: Without flour or a raising agent, this will not resemble a light sponge cake.
- Chill for the cleanest slices: Refrigeration transforms the soft bake into firmer, brownie-like portions.
Storage
Refrigerator
Once completely cool, place the bake in an airtight container and refrigerate for up to four days.
Separate stacked pieces with baking paper to prevent them from sticking together.
Freezer
Wrap individual portions or separate them with baking paper. Freeze in an airtight container for up to two months.
Defrost overnight in the refrigerator. For a softer texture, let the portion stand at room temperature for 15 minutes before serving.
Room temperature
Because the recipe contains eggs and moist fruit, do not leave it at room temperature for more than two hours.
Nutrition
Estimated nutrition per serving, based on eight portions and calculated without vanilla, greasing fat, toppings, or added water:
- Energy: approximately 70 kcal / 295 kJ
- Protein: approximately 4 g
- Total fat: approximately 3 g
- Saturated fat: approximately 1.5 g
- Carbohydrates: approximately 13 g
- Fibre: approximately 4 g
- Sugars: approximately 5 g
- Salt: approximately 0.05 g
These figures are estimates. Actual values will depend on the size and variety of the apples, the cocoa brand, the amount of greasing fat, and the serving size.
Frequently Asked Questions
Does this recipe really contain only three ingredients?
The three main ingredients are apples, eggs, and cocoa powder. Vanilla is an optional flavouring, while a very small amount of oil or plant-based butter is used only to grease the dish.
Does five minutes include the baking time?
No. Five minutes refers to the approximate active preparation time. The bake also requires around 30 minutes in the oven and at least 15 minutes to cool.
Is the recipe gluten-free?
The three main ingredients are naturally gluten-free. Check the labels on the cocoa powder and vanilla extract if you must avoid traces caused by cross-contamination.
Is the recipe dairy-free?
Yes, provided you grease the dish with neutral oil or dairy-free plant-based butter. Check the cocoa label to ensure it contains no milk ingredients.
Is this bake sugar-free?
It contains no added sugar. Apples naturally contain fruit sugars, so the recipe is not completely free from all forms of sugar.
Why is the bake bitter?
The recipe contains a high proportion of unsweetened cocoa powder and no added sweetener. Use naturally sweet apples, include vanilla, or reduce the cocoa to 60–70 g for a milder flavour.
Is ¾ cup of cocoa powder equal to 100 g?
Cup measurements for cocoa vary according to how the powder is filled and packed. Three-quarters of a cup often weighs less than 100 g. For consistent results, always use a kitchen scale.
Using 100 g produces a very intense result. Use 60–70 g if you want a flavour closer to a conventional chocolate bake.
Can I use cacao powder instead of cocoa powder?
Yes, but raw cacao powder often tastes stronger and more bitter. You may prefer to use 60–70 g rather than the full 100 g.
Do I need to peel the apples?
Peeling creates the smoothest texture. If you have a powerful blender and the apple skins are thin, you may leave them on after washing the fruit thoroughly.
Can I grate the apples instead of blending them?
Yes, but the texture will be more rustic. Finely grate the apples, whisk the eggs, and mix everything thoroughly by hand. The bake may not hold together as evenly.
Can I make the recipe without eggs?
Not with a straightforward substitution. Eggs provide the main structure and binding. Removing them would require a separately tested recipe.
Why is my batter too thick to blend?
The apples may be small, dry, or insufficiently ripe, and 100 g cocoa absorbs a great deal of moisture. Add 15 ml water at a time or reduce the cocoa quantity.
Why is the centre still soft?
The bake is naturally moist and becomes firmer during cooling. If the centre is liquid rather than fudgy, return it to the oven for another five minutes.
Why did the bake turn rubbery?
It was probably baked too long or blended excessively after the eggs were added. Blend only until smooth and remove it from the oven while the centre is still moist.
Can I add baking powder?
You may add 4 g baking powder for a slightly lighter texture, but the recipe will then contain an additional ingredient. Ensure it is certified gluten-free if necessary.
Can I prepare it in an air fryer?
Yes, provided the baking dish fits safely inside. Bake at approximately 160°C for 20–25 minutes and begin checking after 18 minutes.
Can I make individual portions?
Yes. Divide the mixture among six greased silicone muffin cups. Bake at 180°C conventional or 160°C fan-assisted for approximately 18–22 minutes.
Flourless Apple Chocolate Bake
Instructions
- Preheat the oven to 180°C conventional or 160°C fan.
- Lightly grease and line a 15 cm round or 15 × 15 cm square baking dish.
- Peel and core the apples, then cut them into small pieces.
- Blend the apples and eggs until completely smooth.
- Add the optional vanilla and blend briefly.
- Sift the cocoa powder and add it in three stages, blending and scraping down the sides between additions.
- Check the batter. It should be thick and smooth. If the blender cannot process it, add 15 ml water at a time.
- Transfer the batter to the prepared dish and smooth the surface.
- Bake for approximately 30 minutes, until the centre is set but still moist.
- Cool in the dish for 15 minutes before lifting out.
- Cool completely for clean slices or serve slightly warm for a softer texture.
- Cut into eight portions and serve.