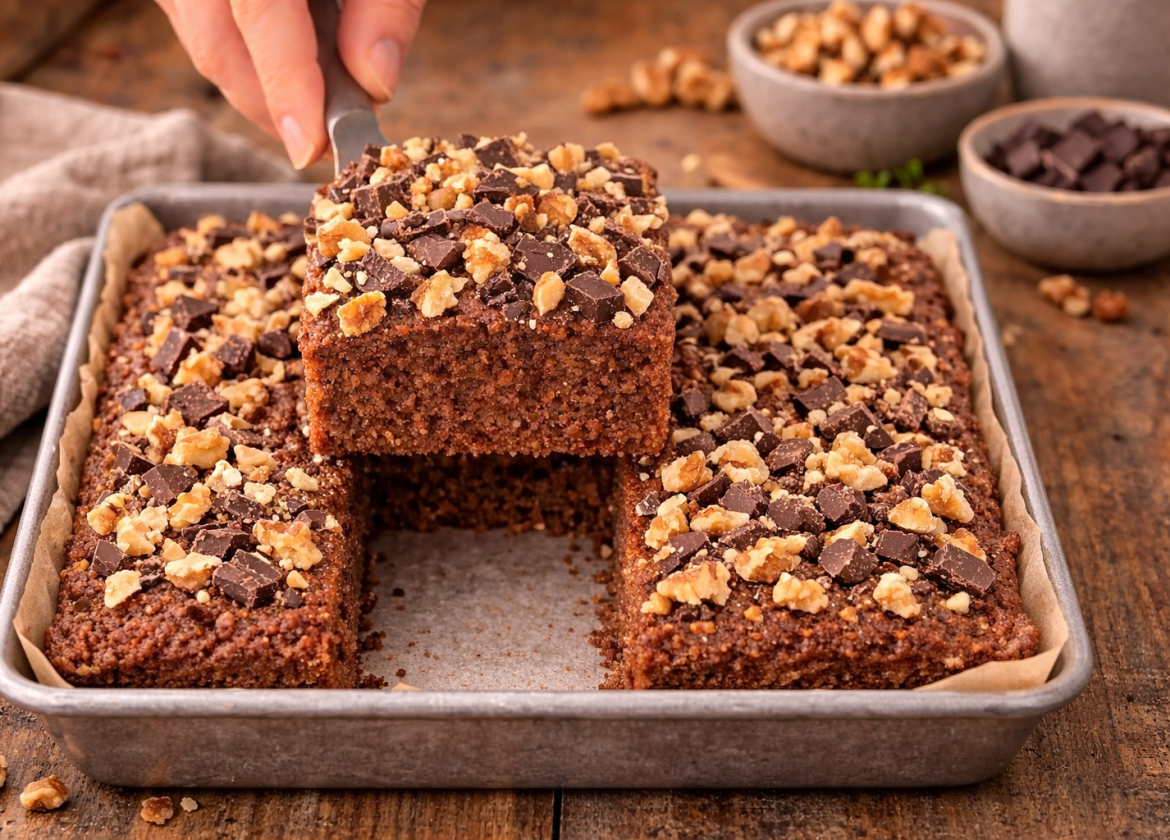
Flour-Free, Naturally Sweet, Soft and Moist
If you are looking for a healthy cake that feels like dessert but is simple enough for everyday baking, this soft date protein cake is one of the best recipes to keep in your kitchen. It is naturally sweetened with dates, made without flour, and comes together with just a blender and a few basic ingredients. The cottage cheese gives the cake moisture and protein, the oats create structure, and the dates bring a deep caramel-like sweetness that makes every bite taste rich and satisfying.
What I love most about this recipe is that it is beginner-friendly. You do not need advanced baking skills, fancy equipment, or special ingredients. If you can blend and pour, you can make this cake successfully.
It is perfect for breakfast, afternoon snack, healthy dessert, or meal prep for the week.
Why You’ll Love This Recipe
- Flour-free and naturally sweetened
- Soft, moist, and tender texture
- High in protein compared to regular snack cakes
- Easy to make in one blender
- Great for meal prep
- Delicious chilled or at room temperature
Recipe Details
Prep Time: 10 minutes
Cook Time: 30–35 minutes
Total Time: 40–45 minutes
Servings: 8 slices
Difficulty: Easy
Ingredient Notes from the Chef
Cottage cheese: Use regular full-fat or low-fat cottage cheese. Full-fat gives the richest texture, while low-fat still works well.
Rolled oats: Old-fashioned rolled oats are best because they blend smoothly and give the cake a soft crumb.
Dates: Soft Medjool dates are ideal. If your dates feel dry or firm, soak them in warm water for 10 minutes, then drain well before blending. This small step makes a huge difference in texture.
Eggs: Eggs help bind the batter and give the cake lift. Room temperature eggs blend more evenly.
Baking powder: This is what helps the cake stay light instead of heavy.
Vanilla: Optional, but highly recommended for a more dessert-like flavor.
Equipment
- Blender or food processor
- 8-inch square baking pan or similar small baking dish
- Parchment paper
- Spatula
- Cooling rack
Step-by-Step Instructions
Step 1: Prepare the Dates
Before you begin, check your dates carefully. Remove any pits if needed. If the dates are soft and sticky, you can use them right away. If they are dry, place them in a bowl and cover with warm water for about 10 minutes. Drain them very well before blending.
Chef’s secret: Dry dates do not blend as smoothly, and they can leave little chewy bits in the batter. Soaking softens them and helps create a creamy, uniform cake texture.
Step 2: Preheat the Oven and Prepare the Pan
Preheat your oven to 350°F (180°C). Line your baking dish with parchment paper, leaving a little overhang on the sides so you can lift the cake out easily later.
Why this matters: Beginners often rush this step, but a properly lined pan prevents sticking and makes the cake easier to remove without breaking.
Chef’s tip: If you want extra insurance, lightly grease the parchment with a touch of oil or butter.
Step 3: Make Oat Flour
Add the rolled oats to your blender or food processor. Blend until they turn into a fine, flour-like texture.
Do not worry if it is not as silky as store-bought flour. You just want the oats broken down enough that the final cake feels soft and tender, not grainy.
Chef’s secret: Blend the oats first on their own. If you add all the ingredients at once, the oats may stay too coarse, and the cake can feel rough instead of delicate.
Step 4: Add the Remaining Ingredients
To the oat flour, add:
- cottage cheese
- eggs
- dates
- baking powder
- salt
- vanilla extract, if using
- honey or sweetener, if desired
Blend until the batter is completely smooth and creamy.
Stop once or twice and scrape down the sides of the blender if needed. This ensures everything mixes evenly and no date pieces are left behind.
What you are looking for: The batter should be thick, smooth, and pourable, similar to a thick muffin batter.
Chef’s tip: Taste the batter before baking. Dates vary in sweetness, so this is the best moment to decide if you want a little honey or sweetener.
Step 5: Let the Batter Rest for 3–5 Minutes
Once blended, let the batter sit for a few minutes before pouring it into the pan.
Why this helps: Oats absorb moisture as they rest. This gives the cake a more even crumb and helps it bake up soft rather than wet in the center.
This is a small professional trick that makes a simple homemade batter behave more like a well-developed cake recipe.
Step 6: Pour and Level the Batter
Pour the batter into the prepared baking dish. Use a spatula to spread it evenly into the corners and smooth the top.
Chef’s secret: Tap the pan gently on the counter 2 or 3 times. This removes large air bubbles and helps the cake bake evenly.
Step 7: Bake Until Just Set
Bake for 30 to 35 minutes, or until:
- the top looks set
- the edges are lightly golden
- a toothpick inserted in the center comes out mostly clean
A few moist crumbs are perfect. Wet batter means it needs more time.
Important beginner advice: Do not overbake. This cake is meant to stay soft and moist. If you wait until it looks completely dry, it may lose that tender texture.
Chef’s tip: Start checking at 30 minutes. Every oven is a little different.
Step 8: Cool Before Slicing
Remove the cake from the oven and let it cool in the pan for about 10 to 15 minutes. Then lift it out using the parchment and place it on a rack to cool further.
You can eat it slightly warm, but the texture improves even more after it cools fully.
Chef’s secret: This cake becomes even softer and more flavorful after chilling in the fridge for a few hours. The sweetness from the dates becomes deeper, and the crumb sets beautifully.
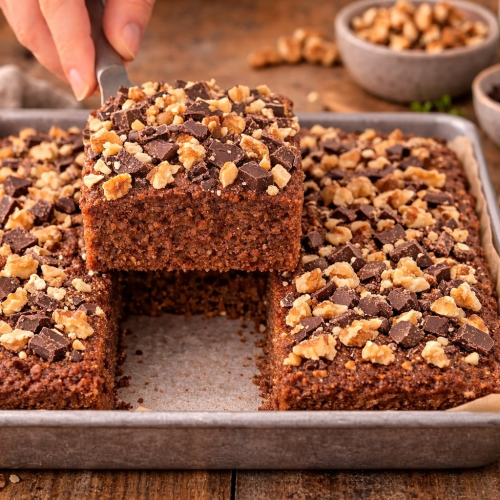
Step 9: Slice and Serve
Cut into 8 slices or squares.
Serve it:
- plain
- with Greek yogurt
- with nut butter
- with a dusting of cinnamon
- with fresh berries
For a breakfast version, serve it with yogurt and fruit. For dessert, add a spoon of whipped Greek yogurt or a drizzle of warm nut butter.
Chef’s Best Tips
1. Use Soft Dates
The softer the dates, the smoother and sweeter your cake will be. Medjool dates are my first choice.
2. Do Not Skip Blending the Oats First
This single step gives the cake a much more refined texture.
3. Rest the Batter
A short 3–5 minute rest helps the oats hydrate and improves the crumb.
4. Do Not Overbake
The cake should still feel soft in the middle when done. It will continue setting as it cools.
5. Chill Before Serving
This cake is genuinely better after chilling. The texture becomes more stable, moist, and almost dessert-like.
6. Add Flavor Thoughtfully
A little cinnamon, orange zest, or vanilla can make the cake taste more complex without changing the recipe.
7. Slice with a Clean Knife
Wipe the knife between cuts for neat, bakery-style slices.
Optional Variations
- Add 1 teaspoon cinnamon for warmth
- Add chopped walnuts for crunch
- Add dark chocolate chips for a more dessert-style version
- Add orange zest for a fresh aroma
- Top with Greek yogurt frosting for serving
Storage
Store the cake in an airtight container in the refrigerator for up to 5 days.
You can also freeze individual slices for up to 2 months.
Chef’s tip: Wrap slices separately before freezing so you can thaw only what you need.
Nutrition
Estimated per serving (1 of 8 slices):
- Calories: 130
- Protein: 6 g
- Carbohydrates: 22 g
- Fat: 3 g
- Fiber: 3 g
- Sugar: 13 g
Note: Nutrition values are approximate and depend on the exact cottage cheese, dates, and optional sweetener used.
FAQ
Can I use quick oats instead of rolled oats?
Yes. Quick oats work well too. The texture may be slightly softer, but the recipe will still succeed.
Can I make this cake without a blender?
A blender or food processor is strongly recommended. It creates the smooth texture that makes this cake special. Without one, the batter will be much rougher.
Can I replace cottage cheese?
Yes, but the texture and protein content will change. Greek yogurt or ricotta can work, though the cake may be a little less structured or slightly more moist.
Do I need to add sweetener?
Not necessarily. If your dates are very soft and naturally sweet, you may not need any extra sweetener at all.
Why is my cake too dense?
Usually this happens when:
- the oats were not blended finely enough
- the batter was not blended until smooth
- the cake was overbaked
- the baking powder was old
Can I make it ahead?
Yes, and in fact I recommend it. The cake tastes even better after a few hours in the fridge.
Can I freeze it?
Absolutely. Slice it first, wrap the slices well, and freeze. Thaw overnight in the fridge or at room temperature.
How do I know it is done?
Insert a toothpick in the center. It should come out with a few moist crumbs, not wet batter.
Soft Date Protein Cake
Instructions
- Preheat oven to 350°F (180°C) and line a small baking dish with parchment paper.
- Blend oats until they become oat flour.
- Add cottage cheese, dates, eggs, baking powder, salt, vanilla, and optional sweetener.
- Blend until smooth and creamy.
- Let batter rest for 3–5 minutes.
- Pour into prepared baking dish and smooth the top.
- Bake for 30–35 minutes, until set and lightly golden.
- Cool before slicing. Chill for the best texture.
Notes
- Use soft Medjool dates for the smoothest texture.
- Soak dry dates in warm water for 10 minutes before blending.
- Do not overbake if you want a soft, moist cake.
- This cake tastes even better after chilling in the fridge.


