
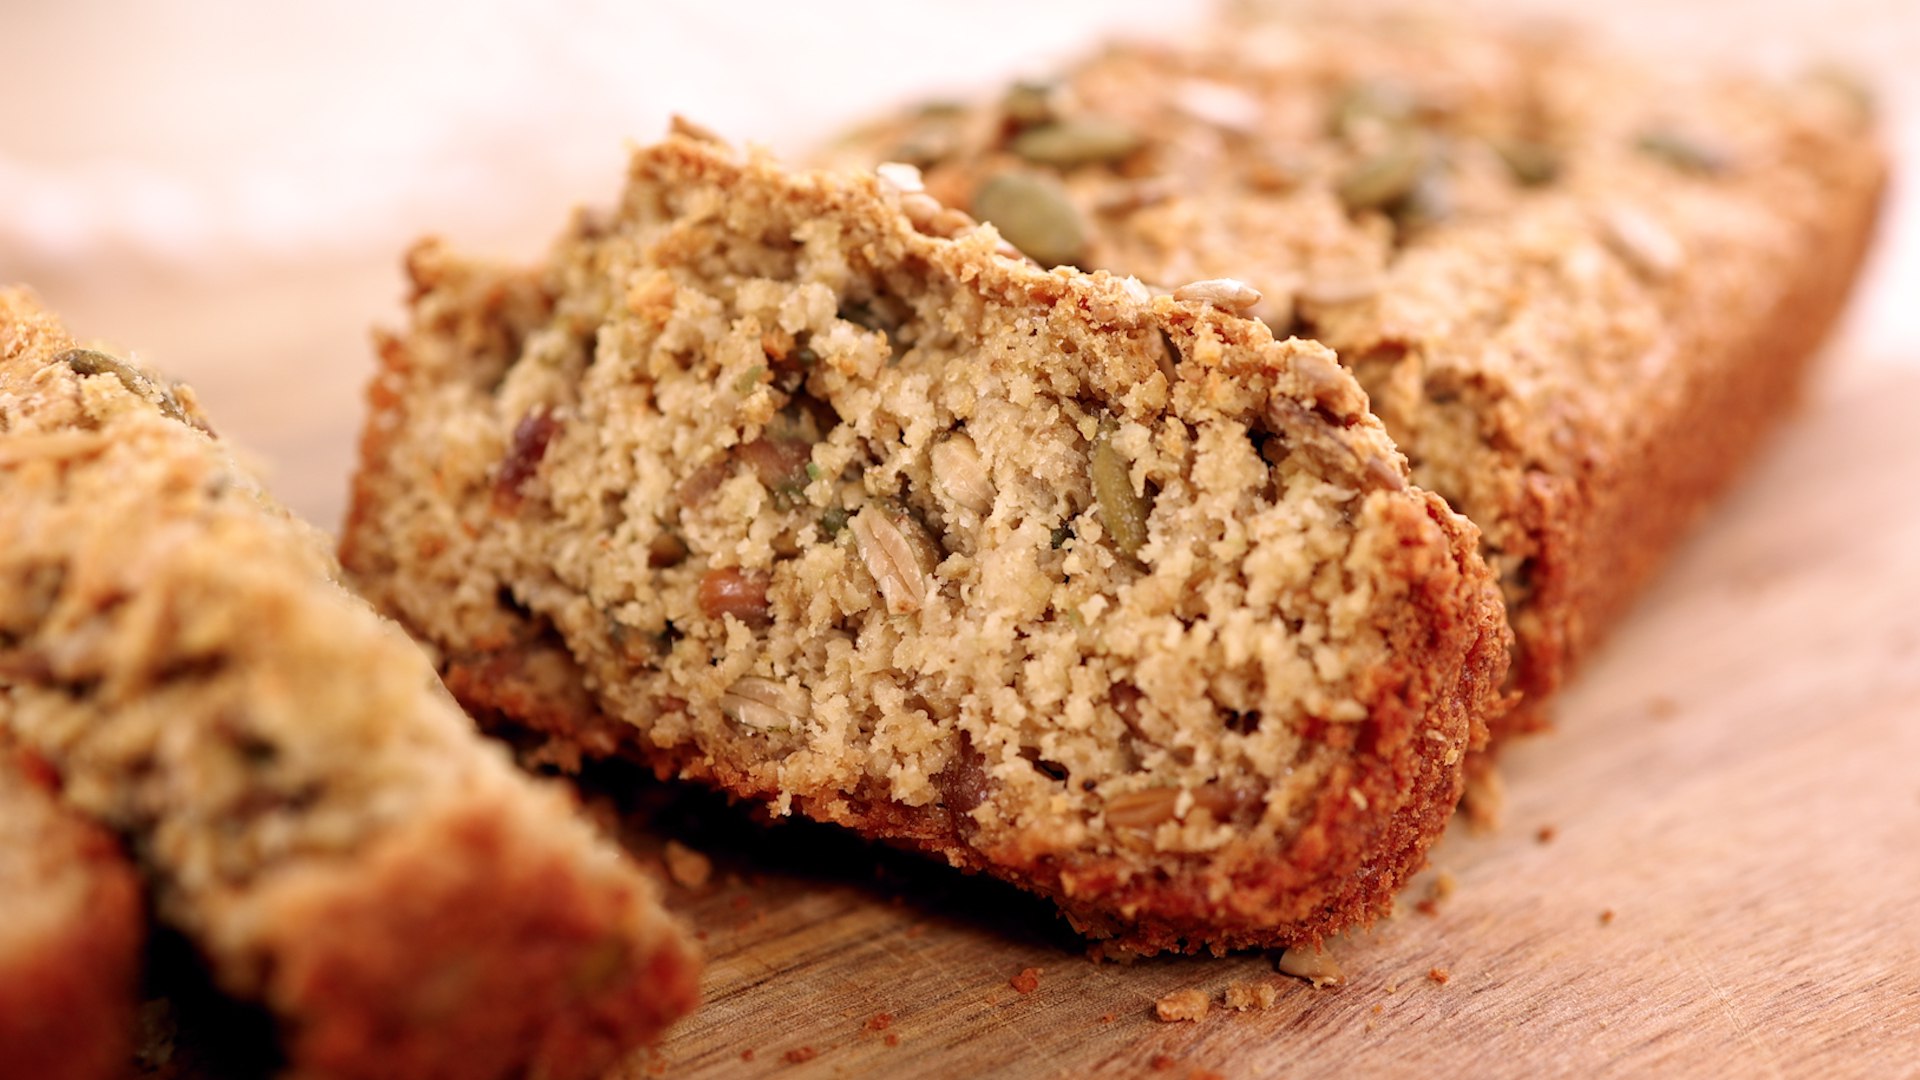
This Wholesome Gluten-Free Oat Bread is a simple, nourishing loaf made with gluten-free oat flakes, yogurt, egg, and crunchy seeds. It has a rustic texture, a mild nutty flavor, and a satisfying homemade feel. As a chef, I love this recipe because it is approachable even for beginners: no yeast, no kneading, no complicated shaping, and no special equipment.
The result is a small, hearty loaf that works beautifully for breakfast toast, open sandwiches, soups, salads, or as a wholesome snack with butter, cream cheese, avocado, or a drizzle of honey.
Recipe Overview
Prep time: 10 minutes
Resting time: 10 minutes
Baking time: 30–35 minutes
Total time: 50–55 minutes
Yield: 1 small loaf
Baking pan: 24 × 10 cm
Oven temperature: 180°C
Equipment You’ll Need
- Mixing bowl
- Small bowl or jug
- Fork or whisk
- Spatula or spoon
- 24 × 10 cm baking pan
- Baking paper, optional but helpful
- Wire rack for cooling
Step-by-Step Instructions
Step 1: Preheat the Oven
Preheat your oven to 180°C.
This step is more important than many beginners realize. A properly preheated oven helps the bread rise quickly and evenly. If the oven is too cool when the bread goes in, the loaf may become heavy and dense before the baking soda has a chance to work properly.
Step 2: Prepare the Baking Pan
Grease a 24 × 10 cm loaf pan with a little oil or butter.
For easier removal, I recommend lining the pan with a strip of baking paper, leaving some overhang on the sides. This creates “handles” so you can lift the bread out cleanly after baking.
Do not skip greasing the pan, especially because oat-based breads can stick more than wheat breads.
Step 3: Combine the Dry Ingredients
Place the gluten-free oat flakes in a mixing bowl. Add the salt, sunflower seeds, and pumpkin seeds.
Stir everything together so the seeds are evenly distributed. This helps every slice have a balanced texture and flavor.
Chef’s secret
For a softer crumb, you can lightly crush the oat flakes with your hands before mixing. For an even finer texture, pulse half of the oats in a blender for a few seconds, then mix them with the remaining whole flakes. This gives the bread better structure while still keeping a rustic oat texture.
Step 4: Mix the Wet Ingredients
In a separate bowl, beat the egg with a fork or whisk until smooth.
Add the plain yogurt, baking soda, and apple cider vinegar. Stir well.
You may notice a little bubbling when the vinegar meets the baking soda. That is exactly what we want. This reaction helps the bread rise and creates a lighter texture.
Beginner tip
Do not mix the baking soda and vinegar too early and leave the bowl sitting for a long time. Once they react, the lifting power starts working. Mix the batter and bake soon after.
Step 5: Combine Wet and Dry Mixtures
Pour the wet mixture into the bowl with the oats and seeds.
Stir gently with a spoon or spatula until everything is evenly combined. The mixture will look thick, moist, and spoonable. It will not look like classic bread dough, and that is completely normal.
This is not a kneaded yeast bread. Think of it more like a quick bread batter.
Step 6: Let the Batter Rest
Let the mixture rest for 10 minutes.
This short resting time allows the oats to absorb moisture from the yogurt and egg. The batter will thicken slightly, and the final bread will slice better after baking.
Chef’s secret
Oats need time to hydrate. If you bake the batter immediately, the bread may feel crumbly. A short rest makes a big difference in texture.
Step 7: Fill the Baking Pan
Transfer the batter into the prepared loaf pan.
Use a spoon or spatula to spread it evenly into the corners. Smooth the top gently, but do not press the batter down too firmly. If you compact it too much, the bread can become dense.
Step 8: Decorate the Top
Sprinkle extra sunflower seeds, pumpkin seeds, or a mix of seeds over the top.
Press them very lightly into the surface so they stick during baking. Do not push them deep into the batter; they should remain visible and create a beautiful rustic crust.
Step 9: Bake the Bread
Bake at 180°C for 30–35 minutes, or until the top is golden and the bread feels firm.
To check if it is done, insert a toothpick or skewer into the center. It should come out clean or with a few dry crumbs. If it comes out wet, bake for another 5 minutes and check again.
The loaf should have a golden top, slightly crisp edges, and a warm nutty aroma.
Step 10: Cool Properly Before Slicing
Let the bread cool in the pan for 5–10 minutes, then transfer it to a wire rack.
Allow it to cool completely before slicing.
This is very important. Gluten-free oat bread is more delicate while hot. If you cut it too early, the slices may break or feel gummy inside. Once cooled, the crumb firms up and becomes much easier to slice.
How to Serve
This gluten-free oat bread is delicious with:
- Butter or cream cheese
- Avocado and a pinch of salt
- Smoked salmon
- Hummus
- Scrambled eggs
- Honey or fruit jam
- Soup or salad
- Cottage cheese and herbs
For the best texture, toast the slices lightly before serving.
Storage
Store the cooled bread in an airtight container at room temperature for 1 day, or in the refrigerator for up to 3 days.
For longer storage, slice the bread and freeze it. Place baking paper between slices so they do not stick together. Toast directly from frozen when needed.
Nutrition
Approximate nutrition per 100 g:
| Nutrient | Amount |
|---|---|
| Calories | 199 kcal |
| Protein | 8.64 g |
| Fat | 9.76 g |
| Carbohydrates | 18.54 g |
Nutrition may vary depending on the yogurt, seed mix, and exact loaf weight after baking.
Chef’s Best Tips
Use thick plain yogurt
A thicker yogurt gives the bread better body and structure. If your yogurt is very runny, the batter may become too loose.
Do not overmix
Mix only until the ingredients are combined. Overmixing is not as dangerous here as with wheat bread, but it can still make the texture heavier.
Let the batter rest
The 10-minute rest helps the oats absorb moisture and gives the bread a better sliceable texture.
Cool completely
This is one of the most important steps. Gluten-free breads often need cooling time to set properly.
Toast before serving
A quick toast brings out the nutty flavor of the oats and seeds and improves the texture.
Make the crumb finer
For a less rustic loaf, blend half of the oat flakes into a coarse flour before mixing.
Add flavor variations
You can add dried herbs, garlic powder, sesame seeds, flaxseeds, chia seeds, or a pinch of black pepper. For a breakfast-style version, add cinnamon and a small amount of honey.
FAQ
Is this oat bread really gluten-free?
Yes, as long as you use certified gluten-free oats. Oats are naturally gluten-free, but they are often contaminated with wheat, barley, or rye during processing.
Can I use oat flour instead of oat flakes?
Yes, but the texture will be different. Oat flour creates a softer and more compact loaf. If using oat flour, start with about 80–90 g and check the batter texture. It should be thick but still spoonable.
Can I make this bread without eggs?
You can try replacing the egg with a flax egg: mix 1 tablespoon ground flaxseed with 3 tablespoons water and let it sit for 10 minutes. The bread will be slightly denser and more fragile.
Can I make it dairy-free?
Yes. Use a thick unsweetened plant-based yogurt, such as soy or coconut yogurt. Avoid sweetened or flavored yogurt unless you want a sweeter bread.
Why did my bread turn out crumbly?
The most common reasons are: the batter did not rest long enough, the bread was sliced while still hot, or the yogurt was too thin. Let the batter rest and cool the loaf fully before slicing.
Why did my bread not rise much?
This is a rustic oat quick bread, so it will not rise like yeast bread. Make sure your baking soda is fresh and bake the bread soon after mixing the wet and dry ingredients.
Can I double the recipe?
Yes. Use a larger loaf pan or two small pans. Baking time may increase slightly, so check the center with a toothpick.
Can I freeze this bread?
Yes. Slice it first, freeze the slices separately or with baking paper between them, and toast directly from frozen.
Wholesome Gluten-Free Oat Bread
Instructions
- Preheat the oven to 180°C. Grease a 24 × 10 cm loaf pan or line it with baking paper.
- In a mixing bowl, combine the gluten-free oat flakes, salt, sunflower seeds, and pumpkin seeds.
- In a separate bowl, beat the egg. Add yogurt, baking soda, and apple cider vinegar. Mix well.
- Pour the wet mixture into the dry ingredients and stir until fully combined.
- Let the batter rest for 10 minutes so the oats can absorb moisture.
- Transfer the batter to the prepared loaf pan and smooth the top.
- Sprinkle extra seeds over the surface.
- Bake for 30–35 minutes, or until golden and a toothpick inserted into the center comes out clean.
- Cool in the pan for 5–10 minutes, then transfer to a wire rack.
- Let the bread cool completely before slicing.


