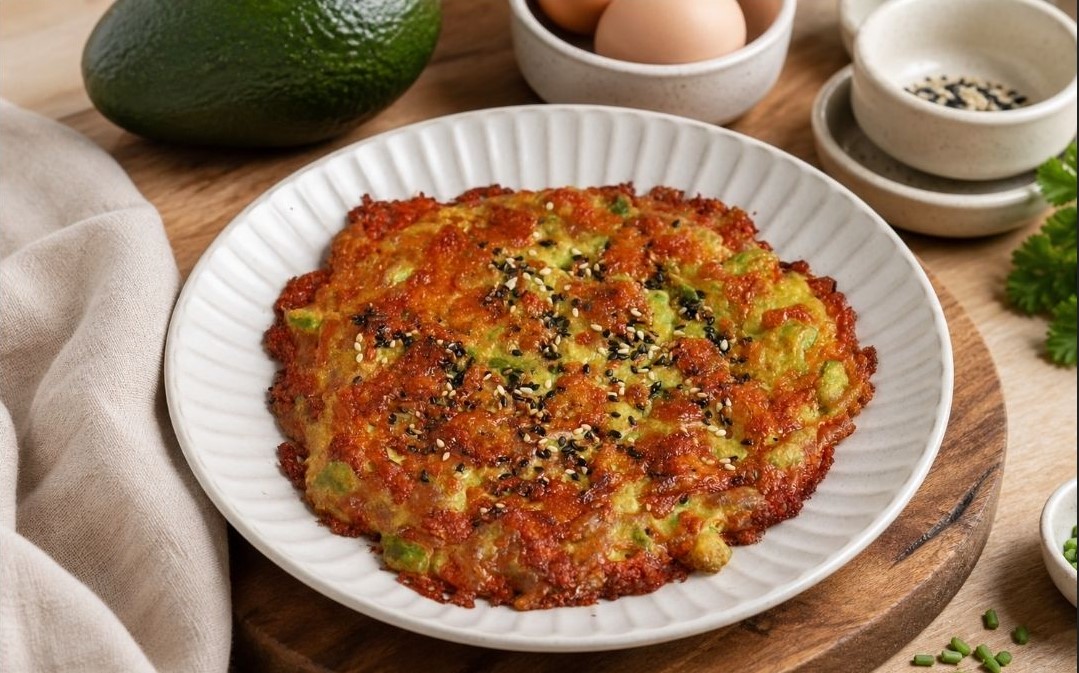
Easy, cheesy, low-carb avocado rounds with a crispy edge and creamy center
If you want something fast, savory, comforting, and a little different from the usual breakfast or snack, these Crispy Avocado Cheese Rounds are a fantastic recipe to keep on hand. They need only a few ingredients, come together quickly, and give you that beautiful contrast of textures: crispy golden cheese on the outside and soft, creamy avocado inside.
This is the kind of recipe I love teaching beginners, because it looks simple — and it is — but a few small details make the difference between rounds that spread too much and rounds that bake up golden, flavorful, and irresistible. I’ll walk you through each step exactly as I would in a real kitchen.
🥑 Enjoy A Crispy Avocado Cheese Round That Melts Softly Inside And Crunches Perfectly Outside
Recipe Overview
Yield: 2 large rounds
Prep Time: 10 minutes
Cook Time: 20–25 minutes
Total Time: 30–35 minutes
Ingredients
For the avocado cheese rounds
- 1 large ripe avocado
- 1 egg
- 1 cup grated cheese
(pizza cheese blend, cheddar, tasty cheese, mozzarella, or a mix) - Bagel seasoning, optional, for topping
Optional serving ideas
- Sour cream
- Sliced cherry tomatoes
- Smoked salmon
- Fresh herbs
- Chili flakes
- Fried egg
- Bacon
- Avocado slices
- Hot sauce
🧀 Savour The Golden Cheese Crust Wrapped Around Creamy, Fresh Avocado
Step-by-Step Instructions
Step 1: Preheat the oven and prepare your tray
Preheat your oven to 200°C (190°C fan-forced). Line a large baking tray with baking paper/parchment paper.
Do not skip the baking paper. The cheese in this recipe melts, bubbles, and crisps as it bakes, and without proper lining, the rounds can stick badly to the tray.
Chef’s tip
Use a large tray, not a small one. These rounds need space around them so the heat can circulate properly and help the edges crisp up instead of steaming.
Step 2: Choose the right avocado
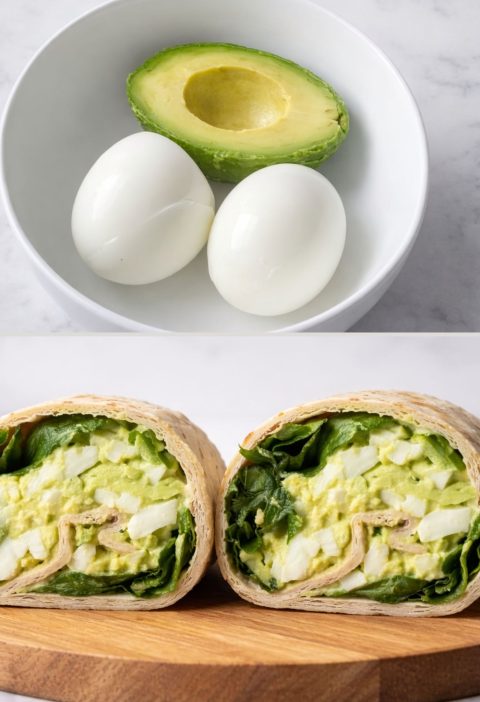
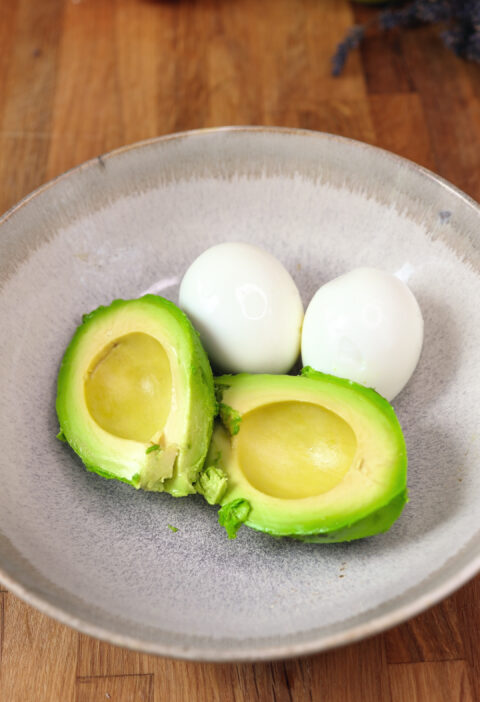
Cut your avocado in half, remove the pit, and scoop the flesh into a mixing bowl.
Your avocado should be ripe but not watery. It should mash easily with a fork, but it should not be overly soft, stringy, or brown inside.
How to tell if it’s right
A good avocado will feel slightly soft when gently pressed, but it should still hold its shape.
Kitchen secret
If the avocado is too watery or overripe, the mixture can become too loose and the rounds may spread too much in the oven. A creamy avocado gives the best structure and flavor.
🔥 Turn Simple Ingredients Into A Snack That Feels Both Indulgent And Surprisingly Light
Step 3: Mash the avocado with the egg properly
Crack the egg into the bowl with the avocado. Now mash the two together using a fork, potato masher, or even clean hands.
You are aiming for a well-combined mixture with a slightly chunky texture. Do not worry about making it perfectly smooth. In fact, a little texture is a good thing — it gives the finished rounds more character and a better bite.
Why this step matters
If the egg is not fully worked into the avocado, the mixture may bake unevenly. You want everything blended enough that the egg helps bind the mixture, but not so overmixed that it becomes runny.
Beginner’s note
If the mixture looks soft, that is normal. The cheese will help bring it together.
Step 4: Stir in the cheese thoroughly
Add the grated cheese and stir until it is evenly distributed through the avocado and egg mixture.
This is where the magic begins. The cheese does two important jobs:
- it adds flavor and saltiness
- it helps the rounds crisp up and hold together during baking
Best cheese choices
A mixed pizza cheese works very well because it usually melts and browns nicely. Cheddar gives stronger flavor, mozzarella gives stretch and softness, and a blend often gives the best overall result.
My advice as a chef
If your cheese is very finely grated, the rounds may bake more evenly. If it is too coarse, the mixture can look rough and may not spread as neatly.
🌿 Bring A Touch Of Freshness To Every Bite With Herb‑Kissed, Cheesy Avocado Rounds
Step 5: Divide and shape the rounds
Divide the mixture into 2 equal portions and place them onto the lined baking tray.
Now spread each portion into a thin, flat round. This is very important. Do not make them thick like patties. The thinner and flatter they are, the crispier the final result will be.
Aim for rounds that are roughly even in thickness so they bake at the same rate from edge to center.
Important beginner tip
Leave space between the two rounds. As the cheese melts, they may spread slightly.
Chef’s secret
If you want extra crispy edges, make the rounds a little thinner around the outside edge than in the center. That gives you a beautiful crisp border and a slightly creamier middle.
Step 6: Add seasoning on top
Sprinkle bagel seasoning over the top if using. This adds crunch, aroma, and a savory boost.
If you do not have bagel seasoning, you can use:
- sesame seeds
- poppy seeds
- garlic powder
- onion flakes
- black pepper
- chili flakes
- Italian seasoning
Don’t overdo it
Some cheese blends are already salty, and bagel seasoning can also contain salt. If your cheese is quite salty, use the topping lightly.
🥑 Make Snacking Feel Gourmet With A Crisp Exterior And A Silky Green Centre
Step 7: Bake until bubbling, golden, and crisp
Place the tray into the oven and bake for 20–25 minutes, or until the rounds are:
- bubbling
- golden brown
- crisping around the edges
This is not a recipe where you should rely only on the clock. Ovens vary, and cheese can brown quickly toward the end.
What you are looking for
The edges should be deep golden and slightly crisp, while the middle should look set and lightly browned.
Chef’s advice
Start checking around the 20-minute mark. If the rounds are still pale, give them more time. If they are browning too quickly, move the tray slightly higher in the oven or reduce the heat a touch next time.
Step 8: Let them cool slightly before moving
Once baked, remove the tray from the oven and let the rounds sit for 3–5 minutes before touching them.
This resting step is extremely important. Straight from the oven, the cheese is still very soft and delicate. As it cools slightly, it firms up, making the rounds easier to lift without tearing.
Classic beginner mistake
Trying to remove them too early. That is when they are most likely to break.
My kitchen trick
Use a thin spatula and slide it gently under the edges first. Once those release, the center usually follows easily.
🧀 Let The Cheese Bubble And Brown Into A Perfectly Crisp Shell Around Tender Avocado
Step 9: Serve warm
Serve the avocado cheese rounds while still warm, when the contrast between crisp cheese and creamy avocado is at its best.
They are delicious on their own, but also excellent topped with:
- sour cream and herbs
- smoked salmon
- chili flakes and sliced avocado
- tomatoes and microgreens
- bacon and a fried egg
- hot honey or hot sauce for a sweet-spicy contrast
Serving idea from a chef
Use them as a low-carb base instead of toast, flatbread, or even mini pizza crusts. They make a fantastic brunch plate.
Nutrition
Estimated Nutrition (per round, based on 2 rounds total)
Values are approximate and depend on the type of cheese used.
- Calories: 300–340 kcal
- Protein: 14–17 g
- Fat: 24–28 g
- Carbohydrates: 4–6 g
- Fiber: 2–4 g
Estimated Nutrition (entire recipe)
- Calories: 600–680 kcal
- Protein: 28–34 g
- Fat: 48–56 g
- Carbohydrates: 8–12 g
- Fiber: 4–8 g
🔥 Serve These Rounds Warm And Watch The Cheese Stretch Beautifully With Every Bite
Chef’s Best Tips
- Use a ripe but not overly soft avocado for the best texture.
- Choose a cheese that melts well and browns nicely.
- Spread the mixture thinly for the crispiest result.
- Line the tray well — melted cheese can stick badly.
- Let the rounds rest for a few minutes after baking so they firm up.
- Do not overload with toppings before baking; heavy toppings can make them soggy.
- For more flavor, add a pinch of garlic powder, black pepper, or chili flakes to the mixture.
- If you want a firmer texture, add an extra tablespoon or two of cheese.
- Watch closely in the final minutes — cheese can go from golden to too dark very quickly.
- Serve immediately for the best crispness.
🌿 Enjoy A Snack That Balances Creaminess, Crunch And Fresh Flavour Effortlessly
FAQ
Can I use mozzarella only?
Yes, but keep in mind that mozzarella melts beautifully yet browns less deeply than cheddar. A blend usually gives the best flavor and texture.
Can I make these ahead of time?
Yes, but they are best fresh. If making ahead, reheat them briefly in the oven or air fryer to bring back some crispness.
Why did my rounds spread too much?
Usually this happens if the avocado was too soft or watery, or if the rounds were spread too thin without enough cheese to support the structure.
Can I cook these in an air fryer?
Yes, but use baking paper suitable for air fryers and make sure the rounds are stable and not too close together. Keep an eye on them, as air fryers can brown cheese faster than ovens.
🥑 Choose A Quick Appetiser That Looks Elegant And Tastes Comfortingly Familiar
Are these gluten-free?
They can be, as long as your seasoning blend and cheese are certified gluten-free.
What can I use instead of bagel seasoning?
Sesame seeds, garlic powder, onion powder, chili flakes, Italian herbs, or cracked black pepper all work well.
Can I add more ingredients to the mixture?
Yes, but be careful. Wet ingredients like tomato or spinach can make the mixture looser. If adding extras, keep them minimal and finely chopped.
How do I store leftovers?
Store in an airtight container in the fridge for up to 2 days. Reheat in the oven, toaster oven, or air fryer for the best texture.
🧀 Add These Cheesy Avocado Rounds To Any Table And Watch Them Disappear Instantly
Crispy Avocado Cheese Rounds
Instructions
- Preheat oven to 200°C (190°C fan-forced) and line a large tray with baking paper.
- Scoop avocado flesh into a bowl and add the egg.
- Mash together until well combined but still slightly chunky.
- Stir in the grated cheese until evenly mixed.
- Divide the mixture into 2 portions and spread into thin, flat rounds on the tray.
- Sprinkle with bagel seasoning if using.
- Bake for 20–25 minutes until bubbling, golden, and crisp around the edges.
- Cool for 3–5 minutes before lifting from the tray.
- Serve warm with toppings of choice.
Notes
- Spread the rounds thin for the crispiest texture.
- Use a ripe but not watery avocado.
- A cheese blend gives the best flavor and browning.
- Let the rounds cool slightly before moving them.